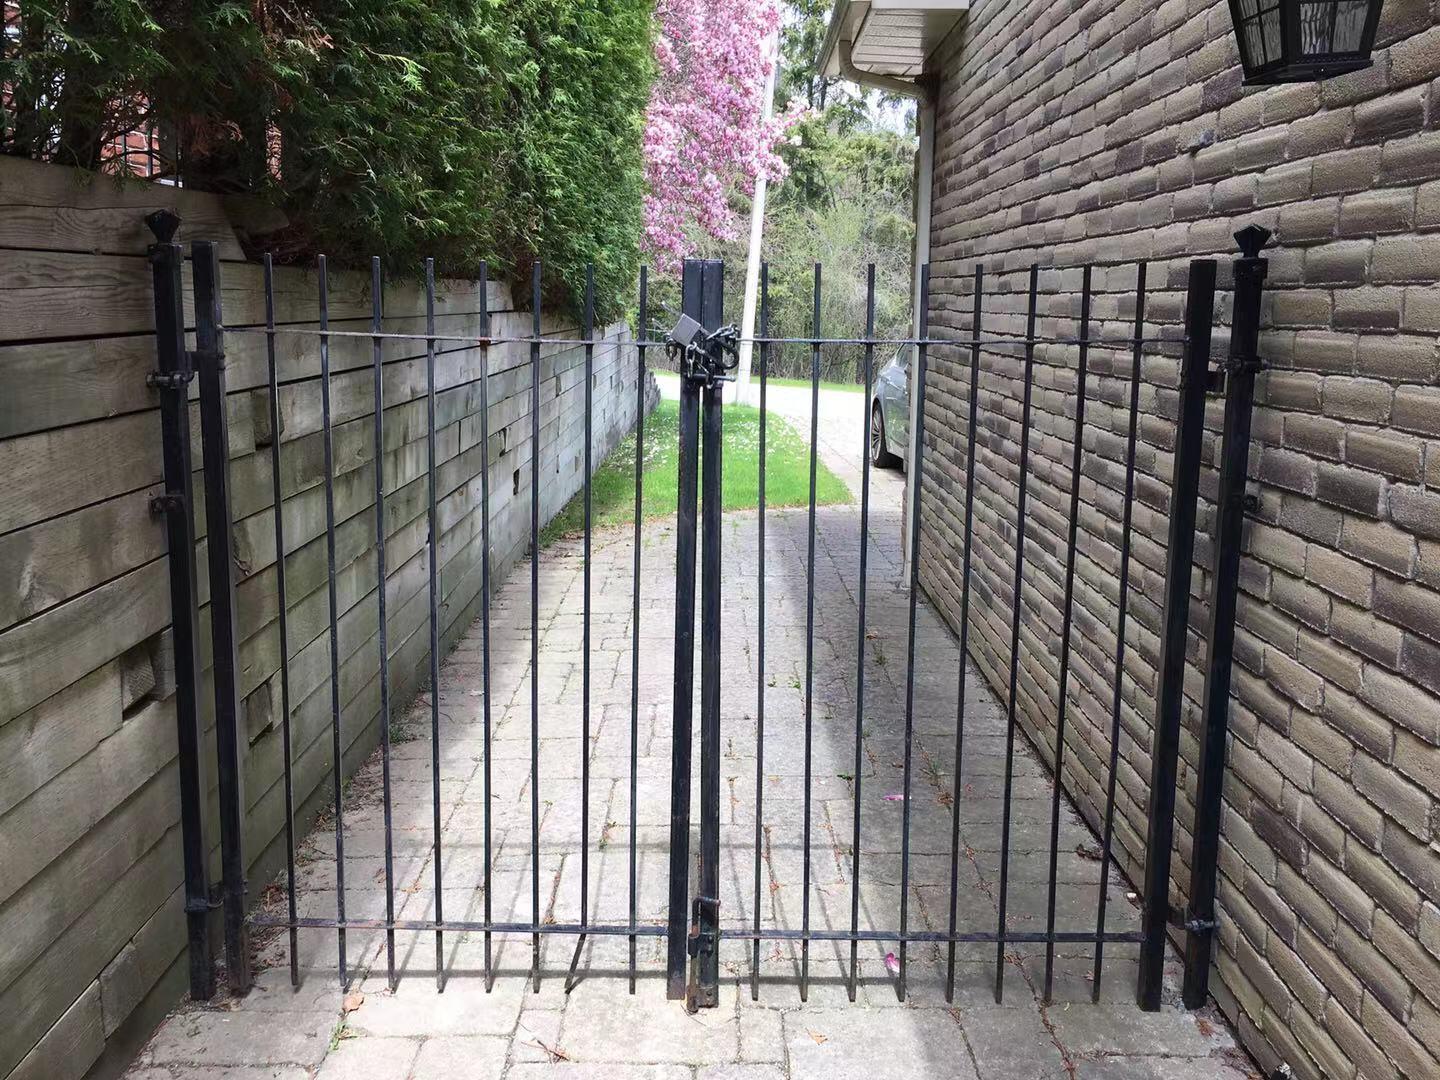
Installing an aluminum gate can dramatically improve a home’s curb appeal while providing reliable security and low-maintenance durability. For homeowners who prefer a hands-on approach, a systematic, step-by-step process ensures a smooth installation and a professional finish. This guide walks you through everything from planning and measuring to final adjustments, offering practical tips that eliminate guesswork and help avoid common pitfalls.
1. Planning and Preparation
Assess the Site
- Determine the exact location of the gate, considering traffic flow, sight lines, and clearance for vehicles or pedestrians.
- Check local building codes and HOA regulations; some neighborhoods require permits for gate installations.
- Identify any underground utilities before digging post holes to avoid accidental damage.
Choose the Right Gate Style
Aluminum gates come in a variety of designs, from sleek modern panels to classic ornamental patterns. Selecting a style that complements existing aluminum fence and gates will create a cohesive look across the property.
Gather Materials and Tools
- Aluminum gate kit (frame, panels, hinges, latch, and hardware)
- Concrete mix for post footings
- Measuring tape, level, and string line
- Power drill, impact driver, and socket set
- Safety gear – gloves, goggles, and ear protection
2. Measuring and Layout
Determine Opening Width and Height
Measure the distance between the intended post locations at ground level and add an extra 2-3″?inches to accommodate hinge clearance. Verify the vertical clearance to ensure the gate will not interfere with driveways, sidewalks, or landscaping.
Mark Post Locations
- Use a string line stretched between the two points to keep the line straight.
- Mark the center of each post location with spray paint or a wooden stake.
- Double-check that the line is perpendicular to the property line for a balanced appearance.
3. Installing the Gate Posts
Excavate Post Holes
- Dig holes 12-18″?inches deep (or below the frost line in colder climates) and at least 8-10″?inches wide.
- Place a few inches of gravel at the bottom for drainage.
Set the Posts
Insert the aluminum post into the hole, ensuring it is plumb with a level. Brace the post temporarily with wooden stakes, then fill the hole with concrete. Allow the concrete to cure for at least 24″?hours before proceeding.
4. Assembling the Gate
Attach Hinges and Latch
- Secure the hinges to the gate frame first, following the manufacturer’s torque specifications.
- Mount the latch mechanism on the side that will close against the opposite post.
- Pre-drill all holes to prevent the aluminum from warping.
Hang the Gate
With the hinges already attached to the gate, lift the gate onto the installed post and align the hinge plates. Use a level to confirm that the gate swings evenly and does not bind. Tighten all bolts securely.
5. Electrical and Automation (Optional)
If an automatic opener is desired, select a model compatible with aluminum gates and follow the manufacturer’s wiring diagram. Typical steps include:
- Mounting the motor unit on the post or a nearby wall.
- Running weather-proof conduit from the power source to the motor.
- Connecting the safety sensors to prevent closing on obstacles.
- Testing the remote control and adjusting the opening speed as needed.
6. Finishing Touches
Seal and Protect
Although aluminum is naturally corrosion-resistant, applying a clear protective coating to any exposed welds can extend the gate’s lifespan, especially in coastal or high-humidity areas.
Inspect for Alignment
- Check that the gate sits evenly on the ground when closed.
- Adjust the hinge bolts or post brackets if the gate drags or lifts.
- Verify that the latch engages smoothly without excessive force.
7. Maintenance Recommendations
Regular upkeep keeps an aluminum gate looking new for years. Recommended practices include:
- Cleaning the surface with mild soap and water every 3-4 months.
- Inspecting hardware for loose bolts and tightening as needed.
- Lubricating hinges and latch mechanisms with a silicone-based spray.
- Checking the concrete footings for cracks or erosion and repairing promptly.
Conclusion
By following this comprehensive guide, homeowners can confidently manage an aluminum gate installation that blends seamlessly with existing aluminum fence installation projects. The result is a durable, attractive entry point that enhances security and adds lasting value to the property.